Well, we’ve been working hard in the studio. Last time I showed you how the building itself was constructed in Part 1. After finding a great electrician and carpenter, it was time to move on to work inside.
 First time working with an electrician from the ground up and being able to plan each and every light, switch and outlet in the space. Always looking for a place to plug-in inside my house, I wanted to make sure that this space would have more than enough plugs. The garage/studio is wired from bottom to top and I don’t think we will ever suffer the rage of trying to find a place to plug in anything!
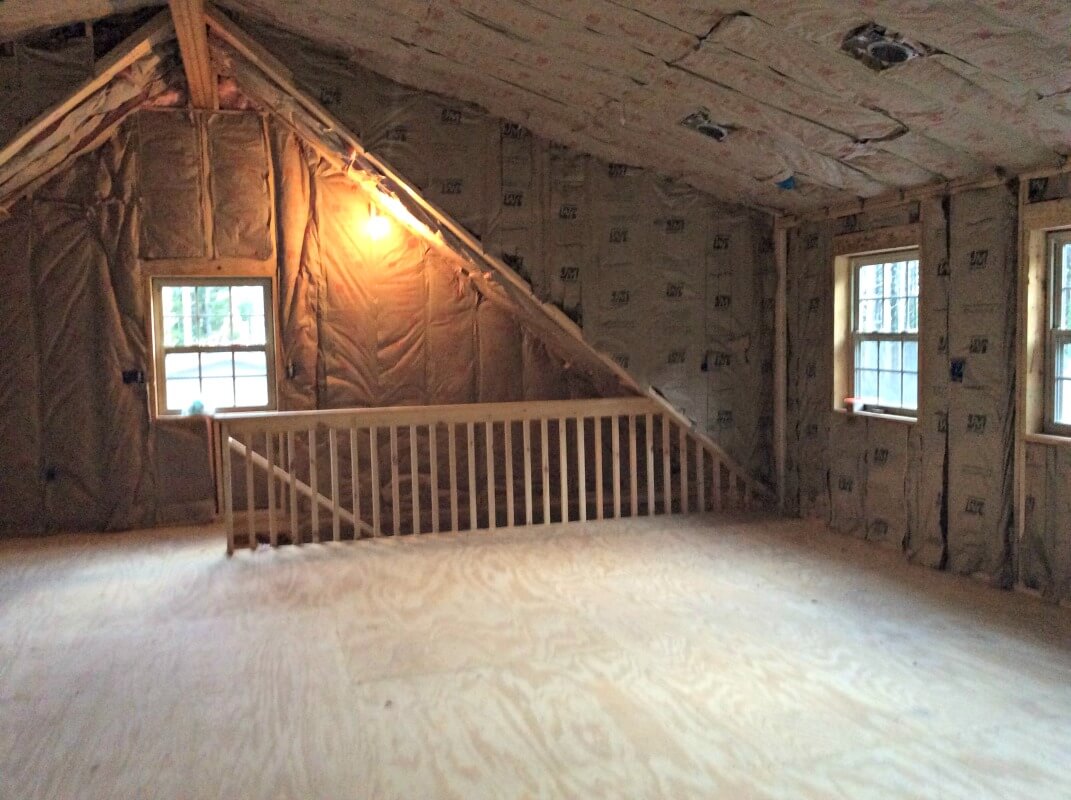
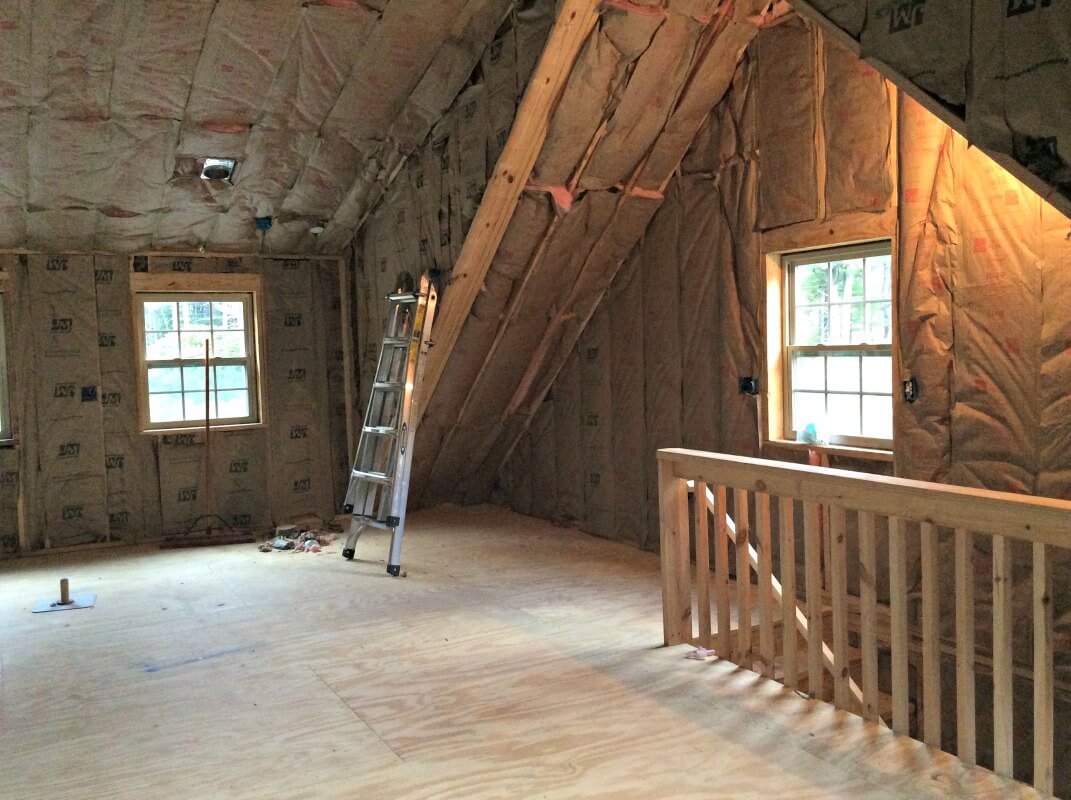
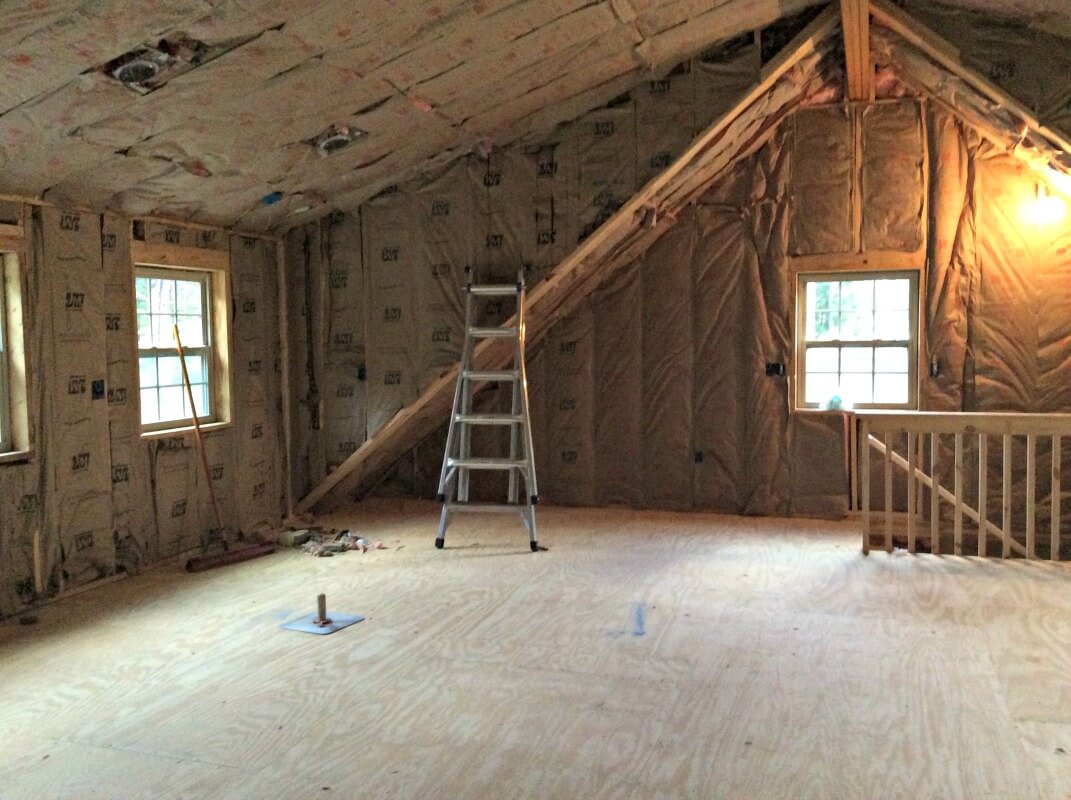
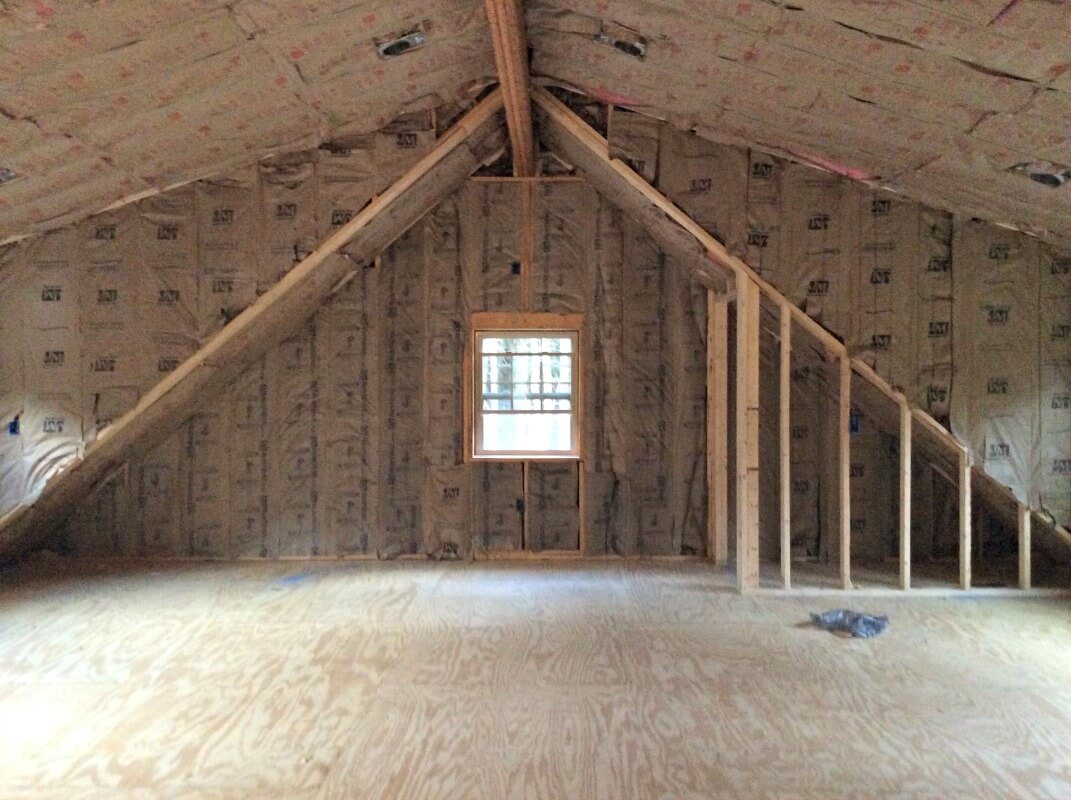
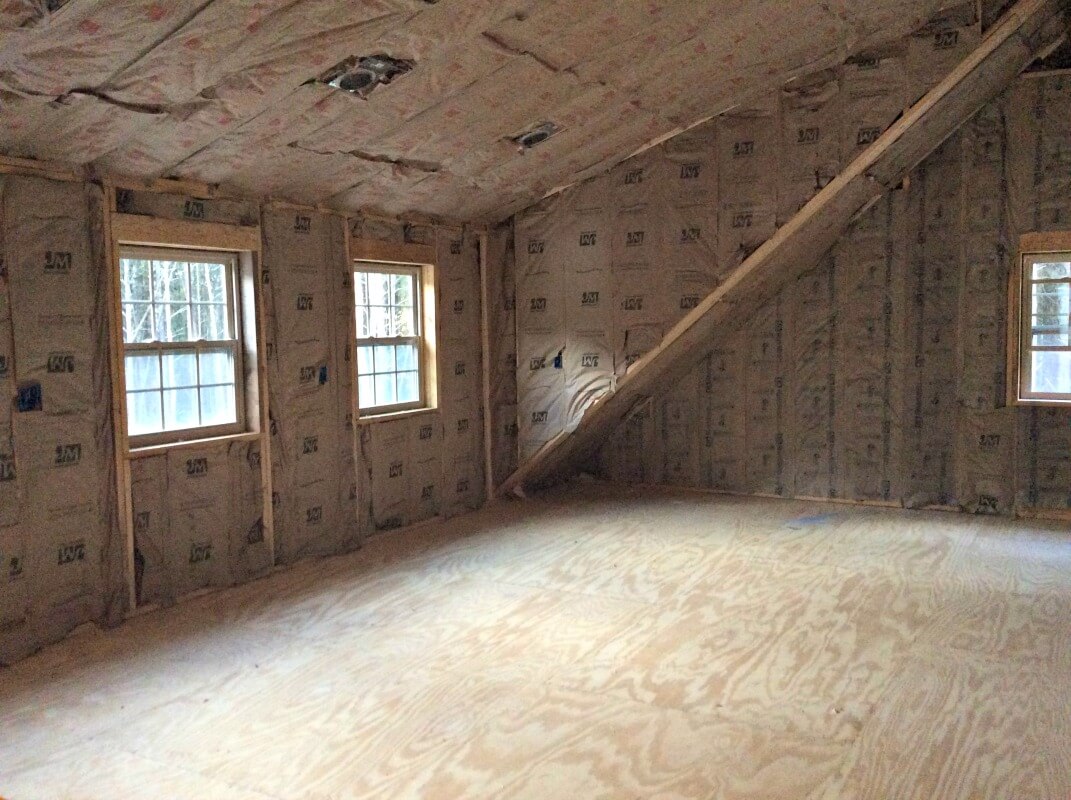
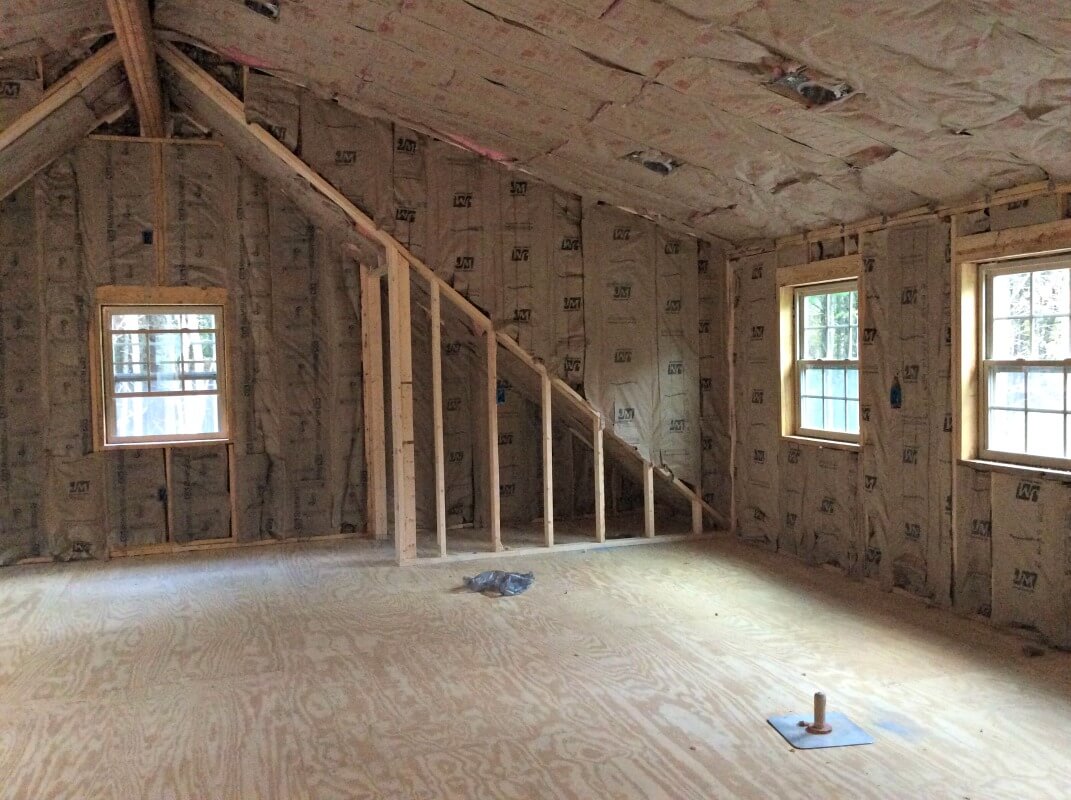
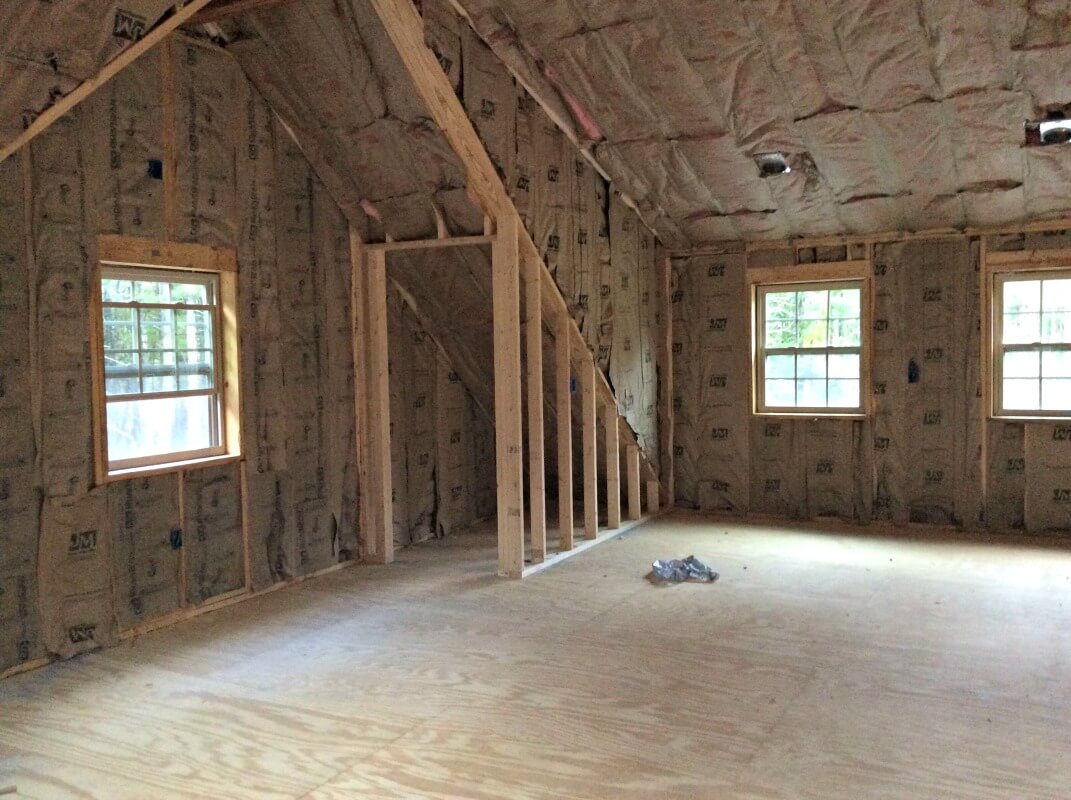
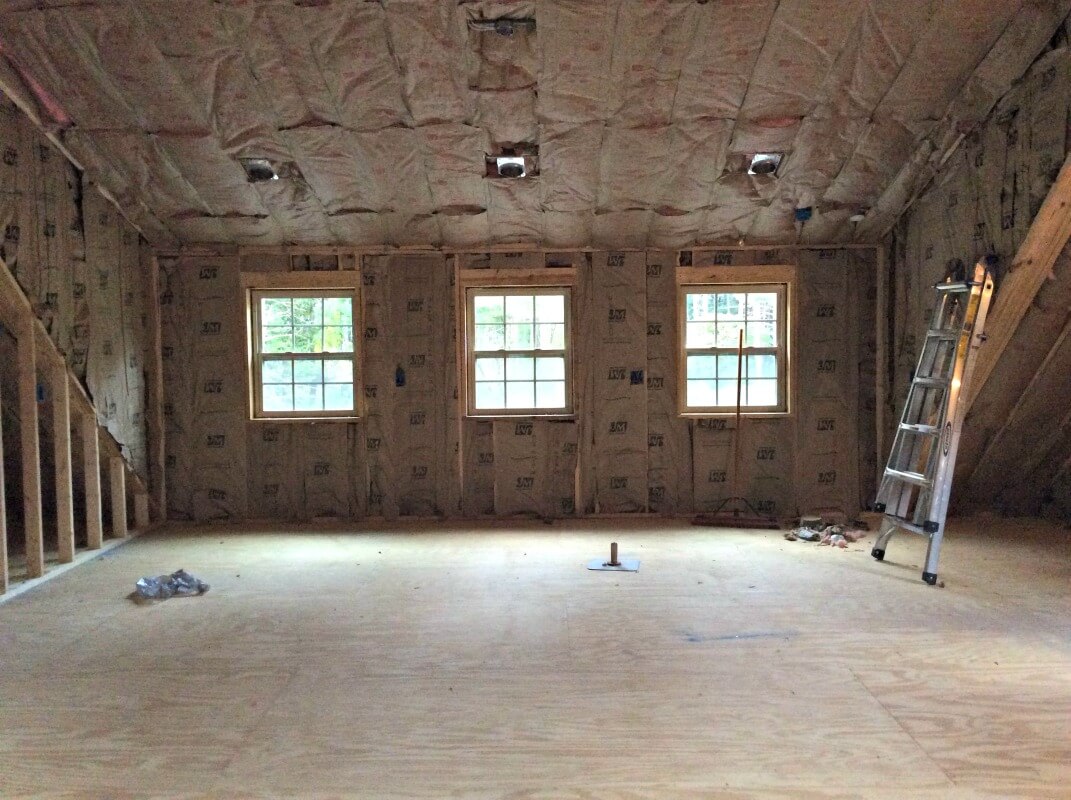
All of this work had to be done before the insulation. We wanted to go with the spray foam type, but with everything we are trying to do in the studio, it was really a priority to remember “This is not a house – it is a studio, so save the high end items for the house.” Hey, no reason to break the bank. Eventually after getting pricing, we decided to go with traditional “pink panther” insulation.
 Using the same team for insulation and drywall who came highly recommended by the electrician, this project moved along rather quickly, which for my area is a true blessing. Being a ‘do-it-yourself’ type of girl, I kept telling Hubs that we could do the drywall – no problem. He kept telling me “I don’t think we want to go there – it’s harder than you think”. Yeah right!
Well, Yeah RIGHT! On a trip to our local Lowe’s, I went to the drywall area and tried to simply shift a piece of drywall to see if I could move or lift it. I was floored to realize just how heavy it was, and that is when I had to agree with Hubs and get someone else to do the job. I’m not breaking my fragile back if I don’t have to!
 Another thing about drywall – dust, dust and more dust. No matter how much you sweep, no matter how much you shop-vac, the dust is crazy! After the team sanded it all down and were finished with the job, there was just white dust everywhere. It’s going to take some work to get rid of it all without dying from dust clogging up my throat, but I’m already developing some tricks to get rid of it efficiently.
Here are some pictures of the completed insulation. Check out this video for a more up-close view.
Still ahead for this studio construction project – painting, flooring, lighting, heating/cooling, cabinet installation, decor and design.
What type of flooring would you use in this space? Carpet, hardwood or laminate, tile? Share some of your ideas with me. Take a chance and guess which one we plan to use and let me know in the comments section below. Thanks for sharing!






Leave a Reply
Your email is safe with us.
You must be logged in to post a comment.